

Chatbots have made their mark on the open web by helping companies provide support, engage customers, and optimize workflows. A chatbot in Java offers a scalable, high-performance implementation for web applications, especially when organizations already use Java in their tech stack.
This step-by-step guide will walk you through the process of building a Java chatbot for your web application. By the end of this blog, you will be ready to create interactive web chatbots experiences using Java.
Why Java for Web Chatbot Development?
Java is a powerful, general-purpose programming language widely used to develop complex and scalable applications. Here’s why it’s ideal for building chatbots:
- Scalability: Java applications can handle a large volume of user interactions efficiently.
- Strong Libraries: Java offers powerful NLP libraries like Stanford NLP, OpenNLP, and TensorFlow Java.
- Platform Independent: With Java’s “write once, run anywhere” approach, it integrates smoothly with most web servers.
- Community Support: Java’s extensive community ensures abundant documentation and troubleshooting help.
Step 1: Define the Goals and Use Cases
Before development begins, define the purpose of your chatbot to ensure it meets real user needs.
Key Questions:
- Who is the chatbot for (customers, internal teams, etc.)?
- What specific tasks should the chatbot perform?
- What systems or APIs should the chatbot integrate with?
Use tools like Lucidchart or Draw.io to map out the conversation flow.
Step 2: Set Up the Development Environment
Tools Needed:
- JDK (Java Development Kit): Use the latest version for optimal performance.
- IDE: IntelliJ IDEA or Eclipse for efficient coding and debugging.
- Build Tool: Maven or Gradle for dependency management.
Organize your project structure with folders for models, services, controllers, and configurations.
Step 3: Integrate Natural Language Processing (NLP)
NLP is the core of any intelligent chatbot. It allows the bot to understand and respond to user input effectively.
Popular Java NLP Libraries:
- Stanford CoreNLP: Tokenization, sentence segmentation, etc.
- Apache OpenNLP: Language detection, named entity recognition, etc.
- TensorFlow Java: Ideal for machine learning-based conversational models.
Sample Tokenization Code (Apache OpenNLP):
import opennlp.tools.tokenize.SimpleTokenizer;
public class TokenizerExample {
public static void main(String[] args) {
String text = “Hello! How can I help you today?”;
SimpleTokenizer tokenizer = SimpleTokenizer.INSTANCE;
String[] tokens = tokenizer.tokenize(text);
for (String token: tokens) {
System.out.println(token);
}
}
}
Step 4: Build the Chatbot Backend Architecture
This is the brain of your chatbot, responsible for interpreting user input and generating responses.
Key Components:
- Intent Recognition: Use rules or ML to classify user intent.
- Response Generation: Static or dynamic, based on intent.
- API Integration: Pull real-time data (e.g., weather, product availability).
Example Intent Matcher:
public class IntentMatcher {
public static String getResponse(String intent) {
switch (intent) {
case “greeting”:
return “Hello! How can I assist you today?”;
case “help”:
return “Sure! I’m here to help with your questions.”;
default:
return “Sorry, what was that?”;
}
}
}
Step 5: Build the Chat Interface (Frontend)
This is where users interact with the chatbot.
Recommended Approaches:
- WebSockets: For real-time, two-way communication.
- UI Frameworks: Use HTML, CSS, JavaScript with frameworks like React or Angular.
Backend WebSocket Example:
import org.springframework.web.socket.handler.TextWebSocketHandler;
public class ChatWebSocketHandler extends TextWebSocketHandler {
@Override
public void handleTextMessage(WebSocketSession session, TextMessage message) throws Exception {
String userInput = message.getPayload();
String response = IntentMatcher.getResponse(userInput);
session.sendMessage(new TextMessage(response));
}
}
Step 6: Test, Deploy, and Monitor
Testing:
- Unit Testing: Validate NLP logic, server components, and APIs (JUnit recommended).
- User Testing: Gather real feedback to fine-tune conversations.
Deployment:
- Use servers like Apache Tomcat or deploy in Docker containers.
Monitoring Tools:
- Google Analytics
- Botpress Analytics
Track user behavior, retention rates, and response times to optimize your web chatbot.
The Future of Your Java Chatbot
A Java-based chatbot is a powerful asset beyond basic customer service. By continuously analyzing user interactions and improving NLP capabilities, you can evolve your chatbot for greater impact.


AI Chatbots in Supply Chain Management: Boost Efficiency
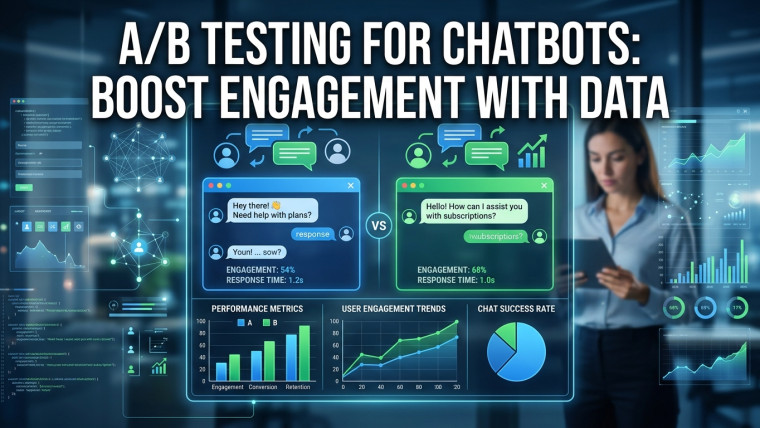
A/B Testing for Chatbots: Boost Engagement with Data
Smart Chatbots Revolutionizing Supply Chain Management
Supply Chain Chatbots: Streamlining Logistics with AI